How To: Make a Pumpkin From Scraps
We are still counting our blessings here and enjoying the Thanksgiving Season. This week we are focusing on getting our homes and families ready for a day of gratefulness. It’s not Christmas yet…
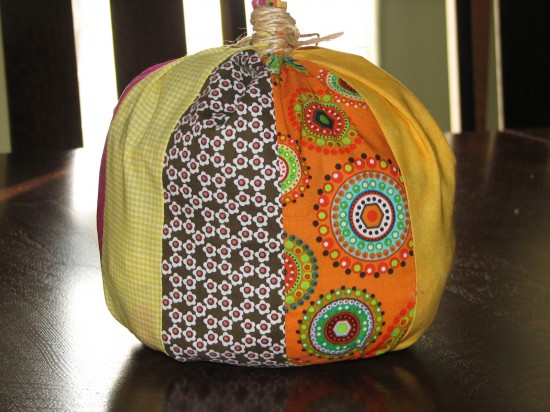
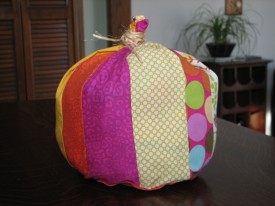
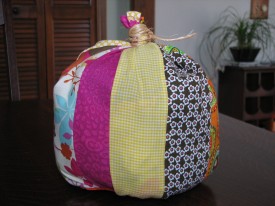
First up, a scrapy little pumpkin. Made with fall colored material scraps and stuffed with old newspaper. It is fun, easy and looks great in any room of your house.
Materials:
1. Material scraps in a variety of fall colors.
2. Twine
3. Newspaper or upcycled wrapping or tissue paper
4. A very small amount of sewing ability
5. Scissors
6. Sewing machine
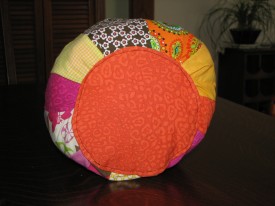
To begin, determine the size or sizes you want your pumpkin to be. This pumpkin is about 8 inches tall. Now you will want to make the bottom of the pumpkin. If you are using felt cut out the exact size that you want. I cut out two, 5-inch circles and sewed them right sides together (leaving a small opening) like I was making a little pillow and then turned it right side out. I did this because I knew I would not be good at making a little hem around the circumference of the circle.
Now, cut your scraps to make the outside of pumpkin. The width of my strips are not all the same. I let the scraps determine how wide they were. I used ten, 10-inch long stripes and they ranged in width from 1.5-3 inches. Next, sew them together to form a cylinder shape. Attach one end of your cylinder to the circle you already made and leave the other end open.
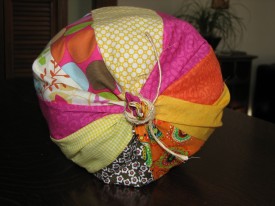
Finally, stuff your pumpkin with whatever you have on hand. I used a little bit of upcycled tissue paper and a little bit of newspaper. When your pumpkin has reached its desired plumpness, gather the open top and tie it up with twine. Wrap the twine around a few times to form a stems before tying it off.
There you are, all done. When Thanksgiving is over, untie the twine and take out the stuffing. Now you can store it flat and re-stuff it next fall.
Happy Upcycling,
Jill



Leave your response!